DIY Stencils For Card Making
Have you ever wondered how to create your own stencils for card making? It's surprisingly fun and easy and you don't need any special equipment other than what you already have in your card making kits or other papercraft supplies.

Different types of stencils
There are two main types of stencils, positive and negative stencils.
The difference between the two is that positive stencils protect the card using the shape of the design while you paint or ink over it, and negative stencils for card making allow you to paint or ink inside the design shape onto your surface.
Here is what a positive stencil looks like:

And here is the negative version of the same stencil:.

Positive stencils for card making are used by either holding down, or sticking down the stencil with a temporary adhesive, and inking or painting around the edges to create your design.
It will look a little like this:

I dabbed green and brown ink
using a rubber stamp on the positive stencil
to form this wonderful leaf pattern!
The negative stencil is held down in the same way (or possibly even taped to your paper), and the inking or painting is done on the inside of your design.
It will look a little like the image below:

Use stamping and embossing techniques
to make amazing patterns with your stencils!
Three different ways to create your own stencils for card making
I'm going to show you three easy ways to create your own stencils for card making.
The first is a manual DIY technique that will create either a positive or negative stencil, the second uses items found in nature for a positive stencil, and the third involves using a die-cut machine (either manual or electric) to make both positive and negative stencils of the same image.
A DIY technique for making your own stencils
This is the technique that I personally use the most and as a "craftaholic", I often find myself reusing the stencils not just for cardmaking, but in scrapbooking, airbrushing, painting, and other crafts.
Here's what you'll need:
Card (or other chosen stencil material)
Your chosen design printed out (let's start simple)
A ballpoint pen
Craft knife

Here's what to do:
Grab the printout of your design and tape it on top of your card (or stencil material).
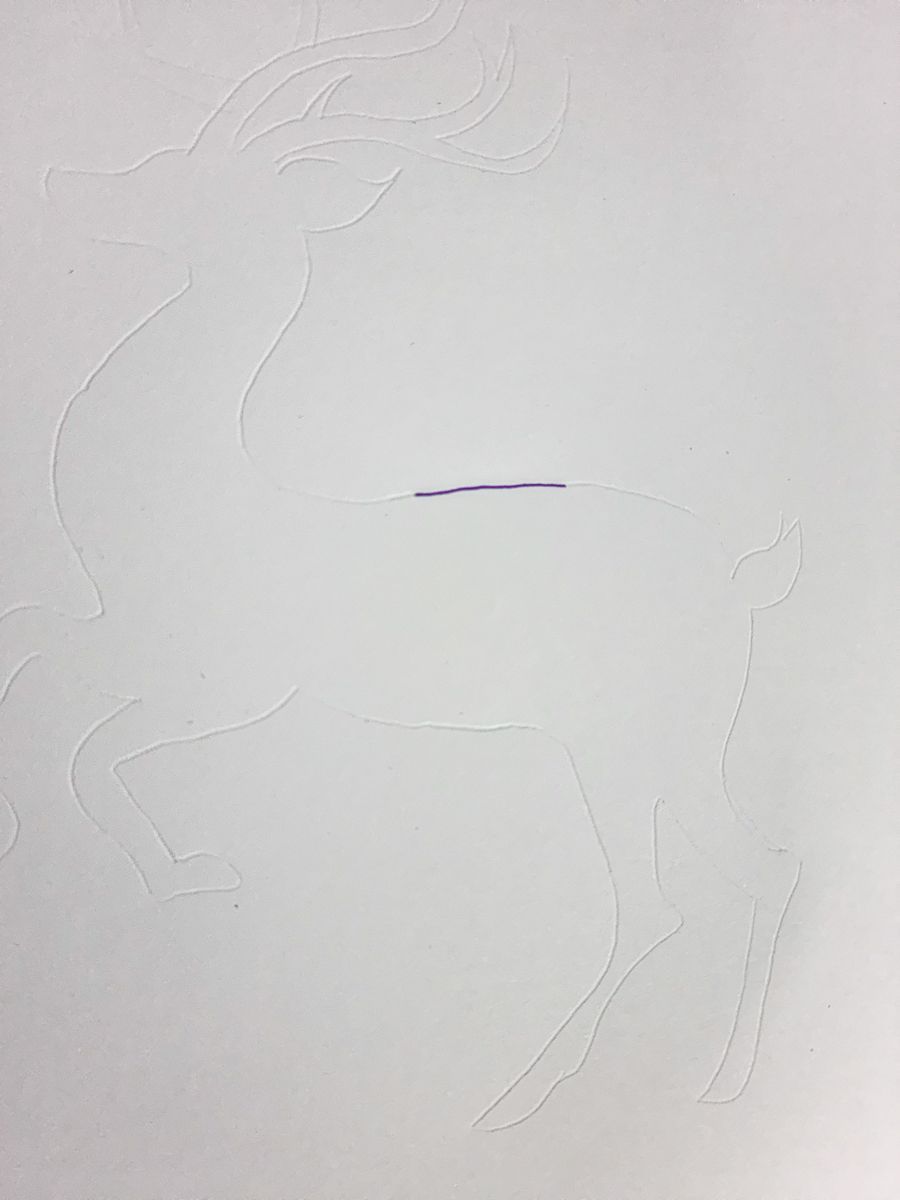
Next, get your ballpoint pen and trace around the design, pushing down hard enough to leave an indent on the card underneath.
Remove the tape and discard the printout of your design. Now, with your ballpoint pen, draw in the indent you just created.
In the image below, you can see both the indent and where I have started drawing the line with my ballpoint pen.
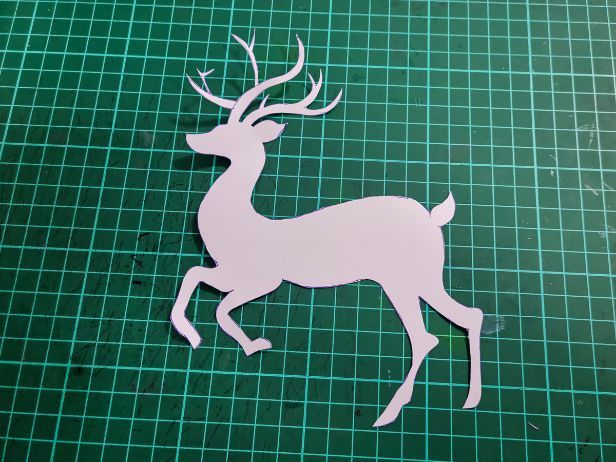
Once you have traced around the entire design, cut it out with your craft knife.
If you are really neat, you will end up with both a positive stencil and a negative stencil, as in the picture below. However, if the picture is intricate, it's not always easy to get both a positive or a negative.
You will see in the cut out below that I have simplified the reindeer's antlers a little from the original printout to make it easier to cut.
Here is the negative stencil:

Using nature objects to create your own stencils for card making
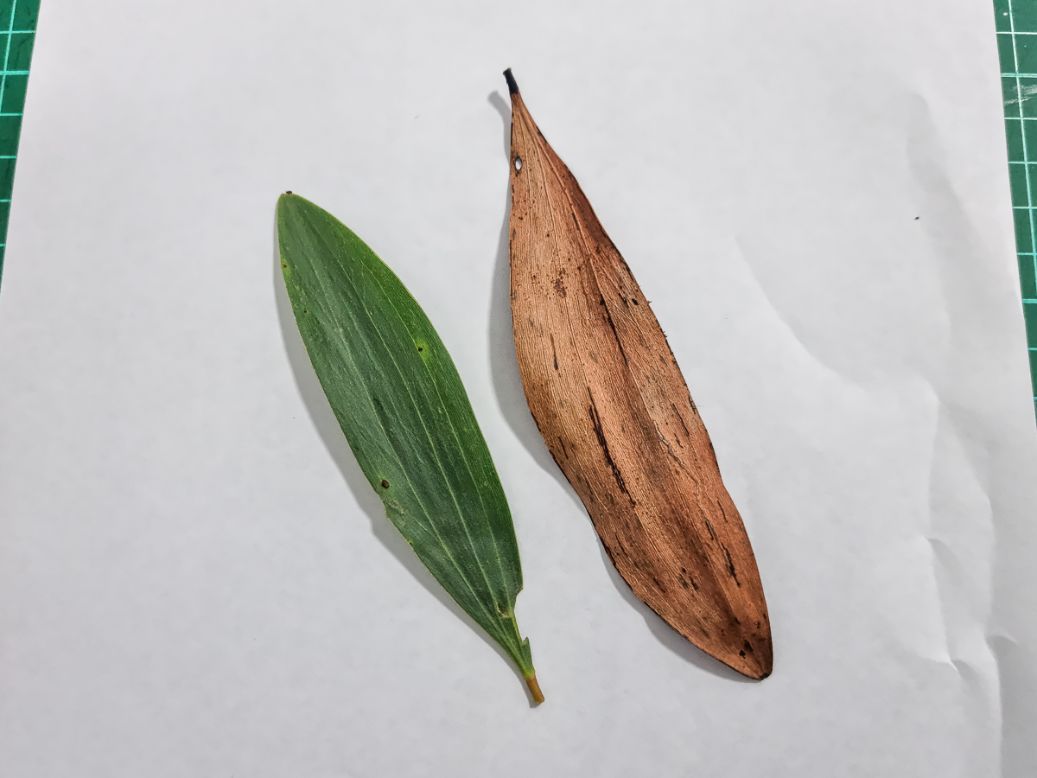
You can make simple stencils for card making (no work required) using objects found in nature such as leaves, bark, flowers, etc. These work like a positive stencil unless you find a really cool leaf with lots of holes in it for an abstract type effect, in which case, you could use it as a negative stencil.
Here's what you'll need:
Some objects found in nature
Here's what to do:
Well, actually, there's nothing to do when it comes to making this stencil. Go ahead and use it on your next card however you please by placing it down on the paper, and either painting, inking, or stamping over top.
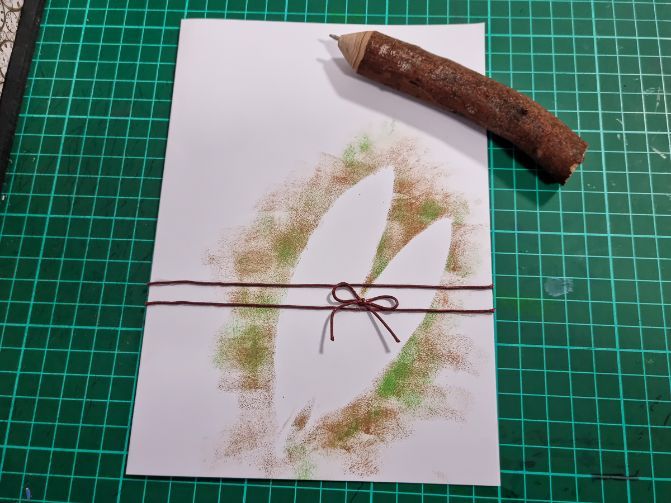
Add a rustic look to your greeting cards by using stencils found in nature!
Using a die-cut machine to make a stencil
Using a die-cut machine is the easiest way to make detailed stencils for your card making projects, giving you a perfectly cut positive and negative stencil each and every time.
Here's what you'll need:
✔️Die-cut machine
✔️Dies (if your machine is manual)
✔️Card (or another stencil making material)

Use a die cut machine to make your own set of stencils!
Here's what to do:
Using your die-cut for cardmaking, load up a piece of card and cut your chosen design in the same manner you normally do.
This time, instead of using your cut-out as an embellishment, you will be using it as a positive stencils and the ''outside'', or leftover piece of paper will be used as the negative stencil.

The best material for making stencils
I often use card or manilla folders as it's cost-effective however many people like to use sheets of plastic such as mylar as they are long-lasting, and can be wiped clean with a damp cloth afterward.
Here's the low down on what you can use:
Paper
Paper can be used to make stencils in a pinch but it nearly always ends up being a one-time-use stencil. This is because it's not durable, tears easily, and doesn't cope with getting wet (if using paint).
It's not the best choice but if it's a one-time-use project, it will work fine as a stencil.
Card
Cardstock or manilla folders work great for stencils. The extra firmness compared to paper makes it longer lasting and also means it doesn't move around on your greeting card when you're working on your stencil.
Card is also easier to cut out by hand as despite being thicker, it doesn't tear as easily if you are cutting something intricate with your craft knife.
Mylar
Many people swear by Mylar, which is the brand name of a type of polyester film (plastic film).
However, because the brand is so popular the word ''Mylar'' is often used to describe all plastic sheets of film and not just the official Mylar brand.
Mylar is extremely durable, flexible (it will roll up), and can be wiped clean after you have got paint and ink all over it. You can also cut Mylar easily with a craft knife and can buy sheets suitable for die-cut machines.
Here's what a simple Mylar stencil looks like (for sale on Amazon).
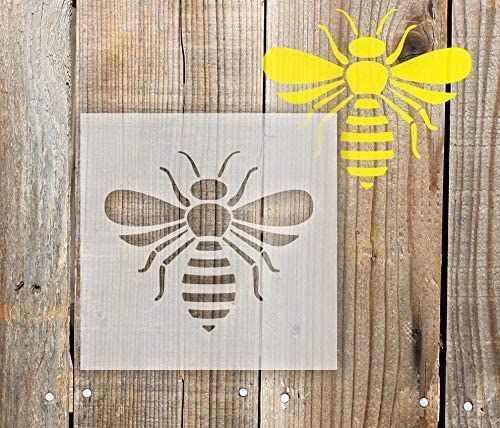
Instead of using paper or card go for mylar for more reusability!
Found objects
In the same manner that you would use objects found in nature, you can also find heaps of things around your house that make great stencils.
For e.g. decorative lace scraps makes for an amazing pattern as does an old pair of patterned stockings, an onion bag, or even laying strips of novelty yarn on the card.
Have you tried creating your own stencils for card making yet? Or have you come up with any unique ways to make great stencils? We would love for you to share your creations with us.
Happy Card Making!
Seen Our Sister Site?
Check out ScrapbookingCoach.com by clicking here.
© Copyright 2025 - CardMakingCollective.com