Card Making For Beginners - Card Making Tips and Tricks Every Card Maker Should Know
What starts as a whim usually turns into a full-blown hobby when it comes to card making for beginners. Inspired by other cardmakers, social media, and Pinterest, you will quickly realize that card making creativity knows no bounds and you are only limited by your own imagination.
My card making journey has been a slow one, often learning things the hard way as I went along due to a lack of knowledge. Now that I have more experience and have created countless cards, I've rounded up some tips and tricks ideal for card making for beginners that I wish I had known at the beginning of my card making journey.

#1 - Nice smooth folds are achieved by scoring the card firs
Scoring your card stock is essential to achieving nice smooth folds when creating your card base or folding any fiddly bits. But what is scoring? Well, scoring is making a crease in the cardstock before folding, which gives the fold a much more crisp, clean, and professional look.
You can score cardstock in two ways and I recommend the first way. The first way is to use a proper scorer. This looks a lot like a rotary cutter however it has some grooves in it in which you line your paper over and using a little plastic tool, run it over one of the little grooves and push the paper down into the groove. This line is your scoreline and the paper will now fold perfectly on this line!
The second way is to use a craft knife, and very gently, go over your intended fold line with the knife without actually cutting into it. I used this method for ages and it works, but it's not ideal as it damages the cardstock, and it's inevitable that every now and then you may push a little too hard accidentally.
The scorer below can be purchased from Amazon.
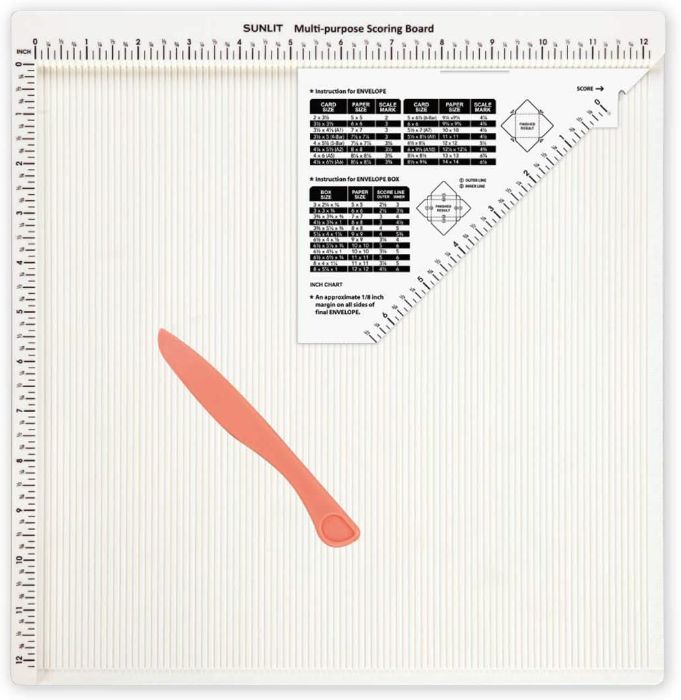
Higher quality tools can be more expensive but last longer than generic brands
#2 - Re-use your paper scraps
One of the best tips on card making for beginners is to grab yourself an empty shoe box or drawer and start putting all of your paper scraps in it. As decorating a card often uses small pieces of paper, there is really no need to throw out any of your smaller and oddly shaped offcuts. Novelty and pretty paper can sometimes be expensive so why not use as much of it as you can?
Apart from the card base itself, I often make entire cards from my scrap paper! As you can see from the photograph below, I keep all of my scrap paper in a drawer that slots into a craft cart. Although many card makers like to keep their scrap paper sorted properly, I like to keep mine exactly like this. It's like a lucky dip every time I open the drawer!
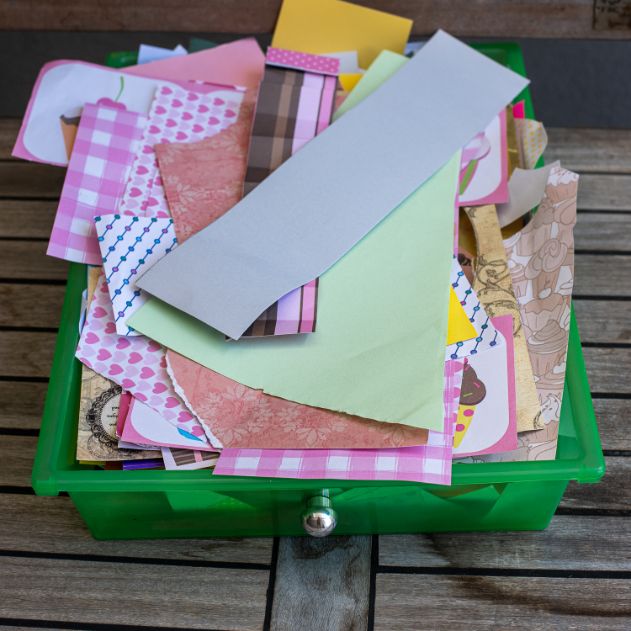
Develop the habit of organizing your papers and other materials for cardmaking
#3 - Add dimension to your cards by using foam tape
This is a great tip on card making for beginners as it can really transform your work! Using double-sided foam tape to add dimension to some of the elements on your card is a really simple technique to bring your card to life. Foam tape comes in a roll, or in sheets of tiny squares or circles. It's double-sided so you just adhere it to your element, rip off the paper backing, and then stick it down on your card.
As that foam tape is not a flat adhesive, the element you just stuck down onto your card will now sit out from the card base a little bit. You can see from the photograph below that I have used foam squares to adhere these sunglasses to the card.
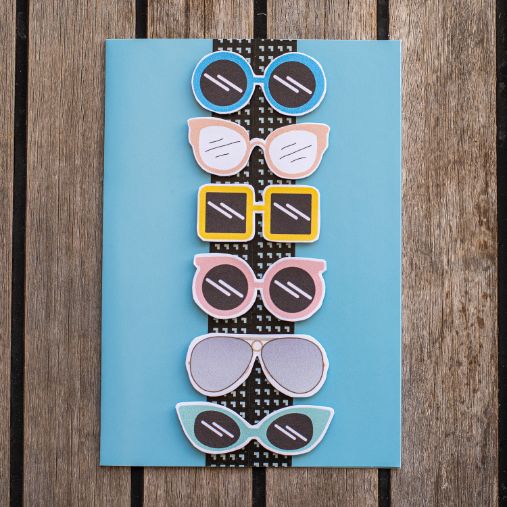
You can use stamps to create your own cut out embellishments
#4 - Paint clear nail polish on the end of your ribbon to prevent fraying
When using ribbon embellishments for your cards, the ends often fray once they have been cut. This can be prevented by painting the tips of the ribbon with a little clear nail polish. Although you can buy a special glue to do this, not everyone has this on hand and the nail polish works just as well.
#5 - You can save time by buying pre-made card bases
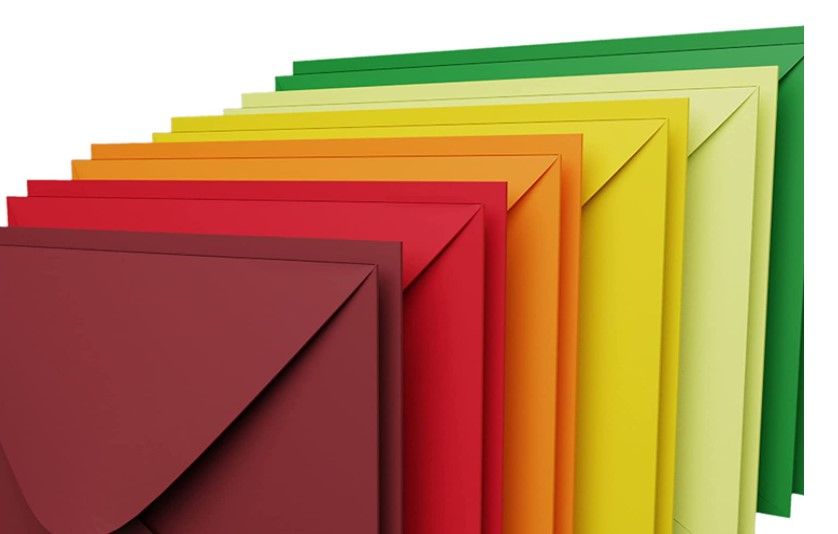
Pre-made card bases are ideal for card making for beginners as you can get straight into the fun stuff. I keep some on hand all the time as making the actual card base is my least favorite thing about card making. You don't need to use them all the time, but for those times when you are happy to use a standard-sized and shaped card, they certainly save a lot of time and come in handy.
The pre-made card bases and envelope set below can be purchased from Amazon.
#6 - You can use card making sketches for never-ending inspiration
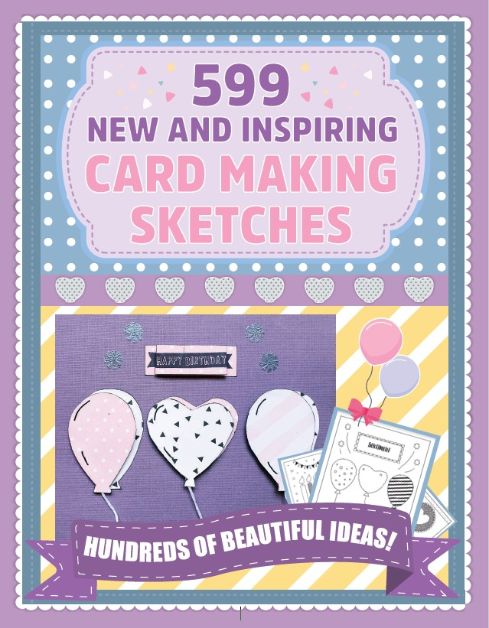
Card sketches are a great card making tool for beginners and experts alike. Many times I have sat down to make a card and just had no clue where to start ... so I would get distracted and often end up just wasting my time. But did you know that you can get a card-making sketches book? It's basically a sketch of the ''bones'' of the card and you have complete control over the paper, embellishments, color, size, etc. The sketch just shows you where to put it!
Grab your own copy of 599 New and Inspiring Card Making Sketches!
#7 - Backgrounds don't always have to be white
Card backgrounds don't always have to be white ... in fact, they often look great when they are not. Change the color of your cardstock base by either creating the card in a different color or by cutting a pretty patterned paper to size and gluing it to your white cardstock base.
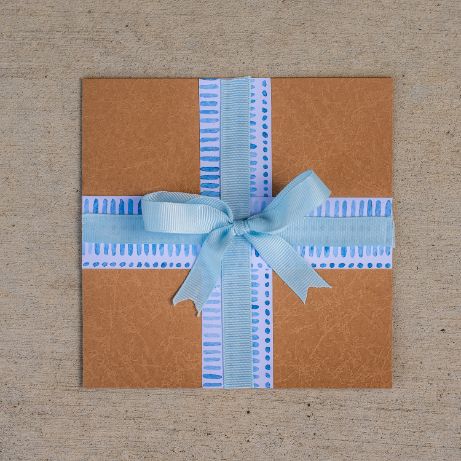
The easiest way to choose what color to use is to make sure the color ties in with your embellishment. As you can see from the image below, I have used a dark blue which tied in nicely with the light blue, and also contrasted nicely with the other colors.
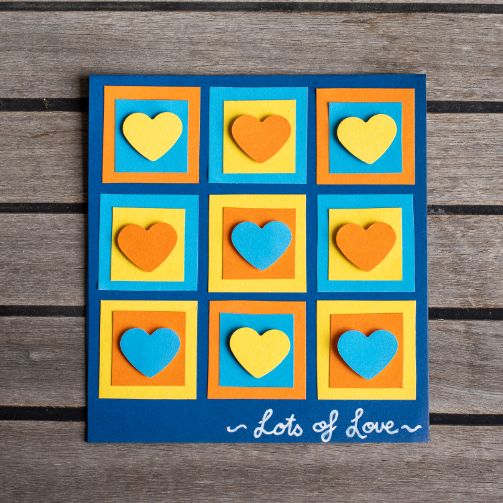
Choose a color for your background that goes well with your theme
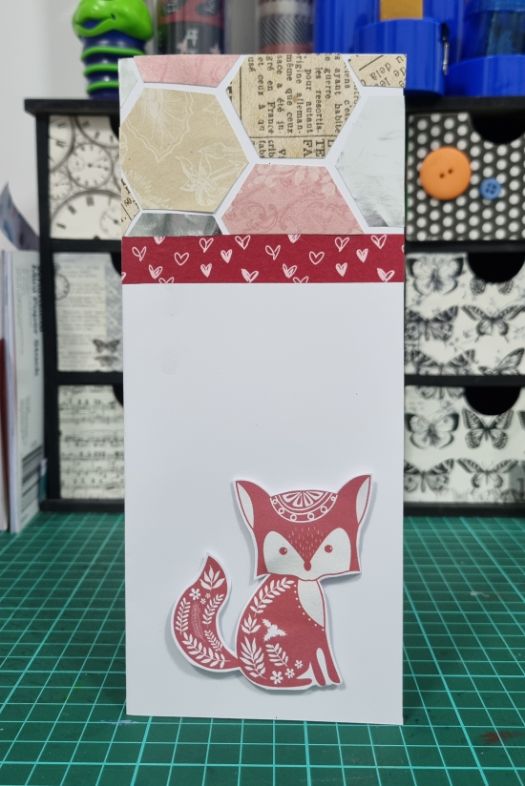
#8 - Cards don't have to conform to a standard size
Don't feel like your card has to conform to a standard size to fit an envelope as envelopes are actually really easy to make. A quick google search will show you how! Slimline cards (as per the photograph below) are long and skinny and are a really popular ''non-standard'' size at the moment. It's not hard to see why ... look at all that wonderful space you have to work with!
#9 - Cards don't have to be rectangle or square
Just as cards don't have to be a standard size, they also don't have to be a standard shape. You can choose any shape that suits your card's theme. You might like to make a round doughnut shape or even a snowman shape for a Christmas-themed card.
In the example below, I have created a kid's birthday card in the shape of a shirt and cape to tie in with a superhero theme.
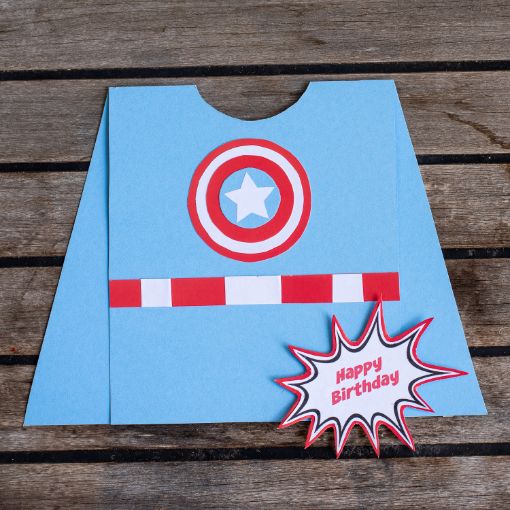
A beautiful card design using simple cut out embellishments
#10 - You don't need a lot of supplies to begin making cards
You may be surprised to learn that you don't need a lot of card making supplies to begin with. Start with a few sheets of plain cardstock for your card bases, and a small pad of patterned paper to decorate your card. You will need scissors, acid free adhesive, and markers at a bare minimum for the construction and it's always great to have a few embellishments such as buttons and ribbons, etc. Once you have made one or two cards, you will quickly learn what you want and need to build your card making stash.
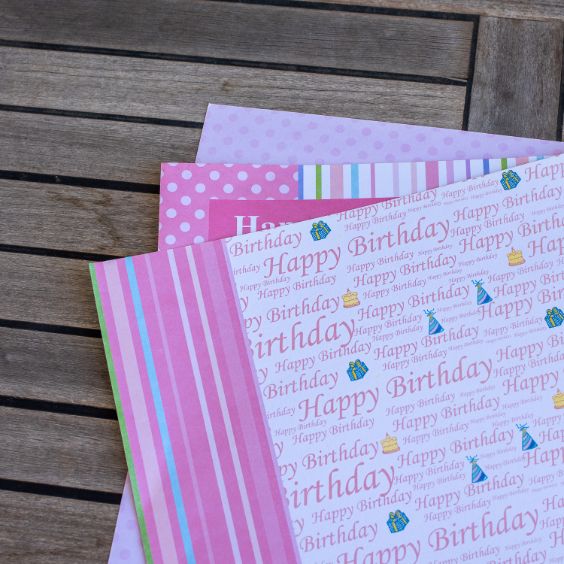
You don't need fancy and intricate card making supplies to create beautiful card designs!
Are you just starting out as a card maker? I really hope these tips and tricks on card making for beginners have helped you along in your creative endeavors. For those of you who have been making cards for a while, feel free to share any valuable advice that you wish you had known when you were just starting out.
Happy card making!
Seen Our Sister Site?
Check out ScrapbookingCoach.com by clicking here.
© Copyright 2025 - CardMakingCollective.com