8 Lovely Greeting Card Border Ideas
A lovely greeting card border can really add that extra special something to your handmade cards. However, finding inspiration for your card borders can be a little hard to find.
To help you with your greeting card border designs, here are eight easy card making ideas that will instantly enhance any card you are working on.
#1 - Tear the cardstock for a soft edge effect
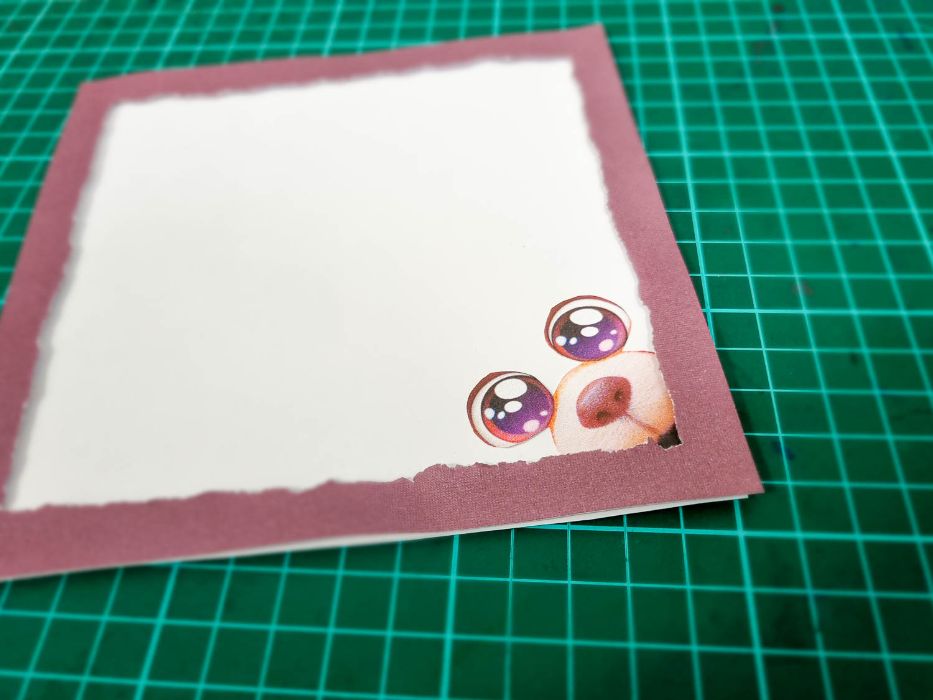
Tearing the cardstock is a straightforward and easy way to add some interest to your greeting card. In the example above, I started with a white card base and then cut out a plain-colored piece of cardstock the same size as the face of the card.
Next, using a pencil I lightly drew a line ½-inch in from each end used these lines as my 'tear' lines for the border. I then pocked a hole with some scissors in the middle of this colored card and using my hands, slowly tore the cardstock along these lines so I was left with a border around ½-inch thick.
This torn border was adhered to the card using double-sided foam squares to make it pop out a little

#2 - Sketch it yourself with markers for a hand-drawn vibe
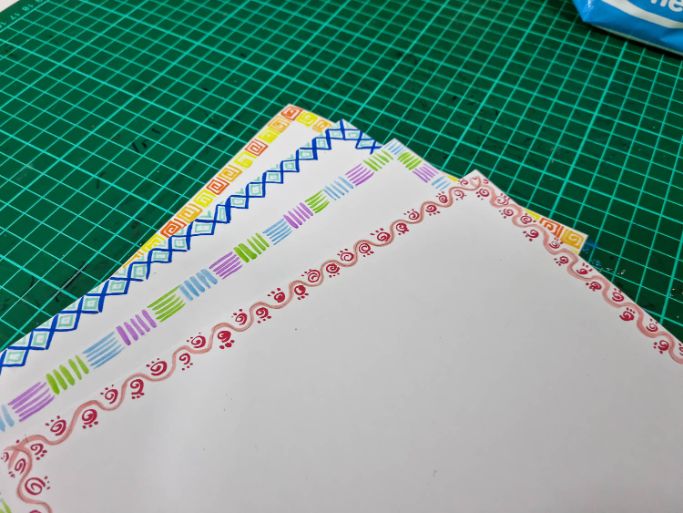
This greeting card border is super simple and doesn't require any special equipment. In fact, all you need is a few markers and your cards. In the example above, I measured and marked with a light lead pencil around ½-inch in from the outside edge and used this line to contain my border. The lead pencil was erased at the end.
Choose a few different color markers that you think will go well together (I used Copic markers) and just do a simple repeating pattern the whole way around.
#3 - Use the base card itself as the border
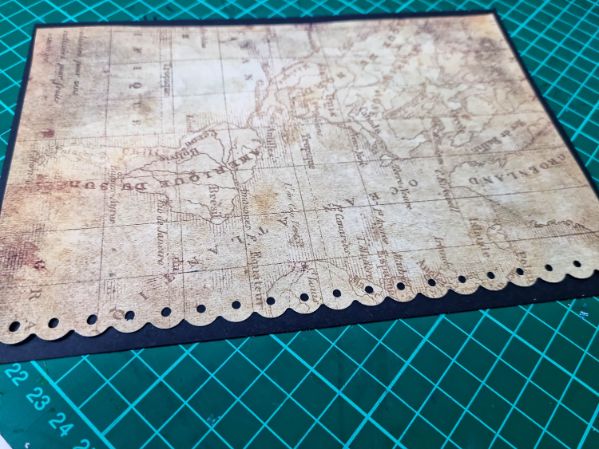
Use plain colored base cards that have great contrasts with your embellishments and patterned craft papers!
You can see in the example above I have used the black base card itself as the actual border. A craft paper punch designed to cut out fancy edges was used to create the patterned effect on the top layer of the card. Here's what my craft paper punch looks like
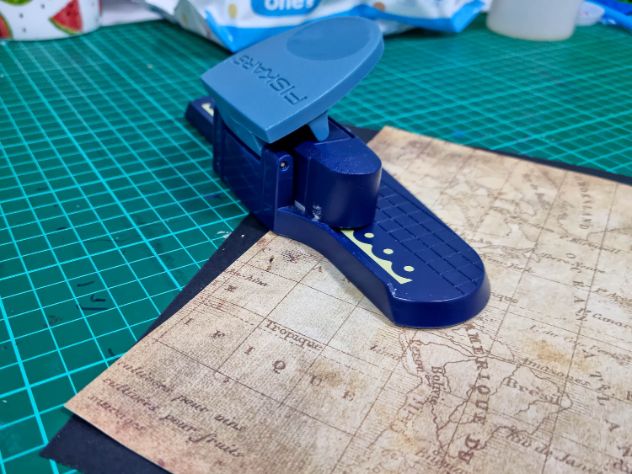
This greeting card border idea is super simple. Using any craft paper punch designed for edges, use it along one side of the top layer of the card face. Make sure this piece is cut slightly smaller so that the plain colored base card can be seen as the border underneath
#4 - Use washi tape for a simple strip border
It's no secret that I love washi tape and will use it whenever I can. Luckily for me, washi tape works amazing as a lovely greeting card border idea. It's great for when you're short on time as well!
Simply lay down four strips as your border, trim any overhanging edges and you're done
#5 - Use simple layers for a lovely greeting card border
Make your focal point pop by using simple border designs!
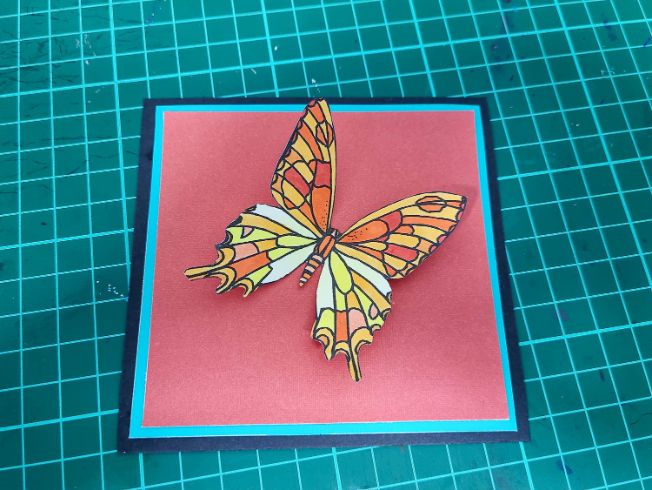
Using simple solid color layers is an easy way to jazz up your greeting card borders. Simply cut each consecutive piece slightly smaller than the previous layer and make sure an even amount of card is peeking through around each edge.
Tip: If you're making multiple layers, consider using paper and not cardstock for the layers otherwise your card will get really bulky.
#6 - Make the border so fabulous it becomes the main feature
Incorporate embellishments on your border and make it your focal point.
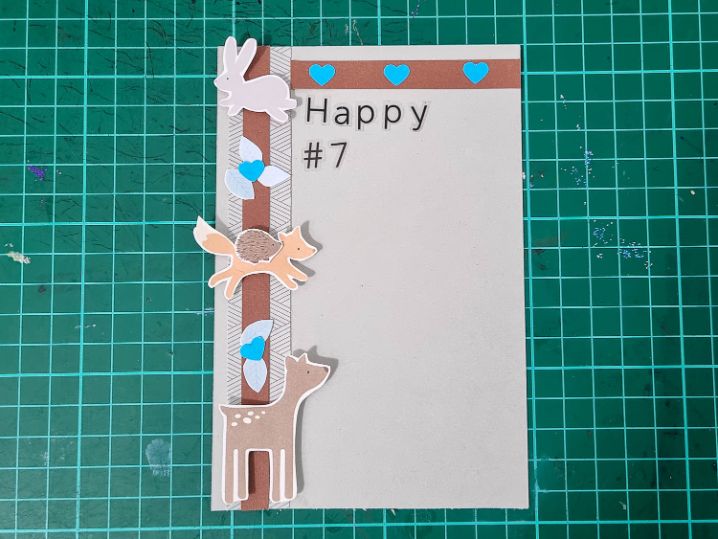
I love the idea of making the border so lovely that it become the main attraction. You can see in the example above that this card is all about the border. Using scraps of both plain and patterned paper, I glued down some strips onto two edges of the card. The woodland animals were cut from a patterned scrap of cardstock and the little blue hearts were cut using a mini craft paper punch.
I adhered the woodland animals to the card using double-sided foam squares to make them pop out a little.
#7 - Make an internal fancy edge using plain cardstock
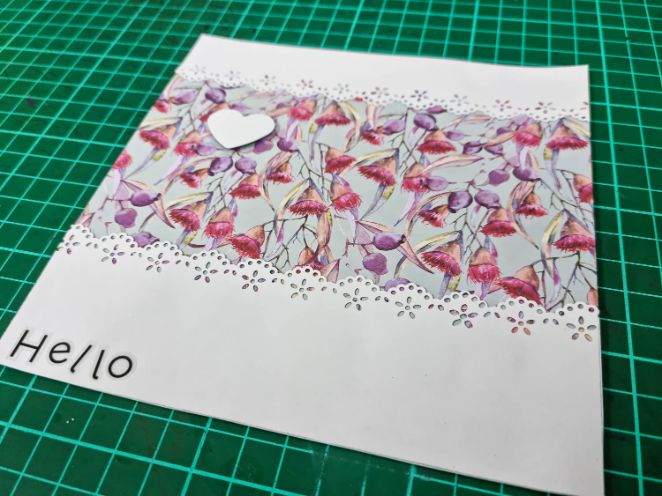
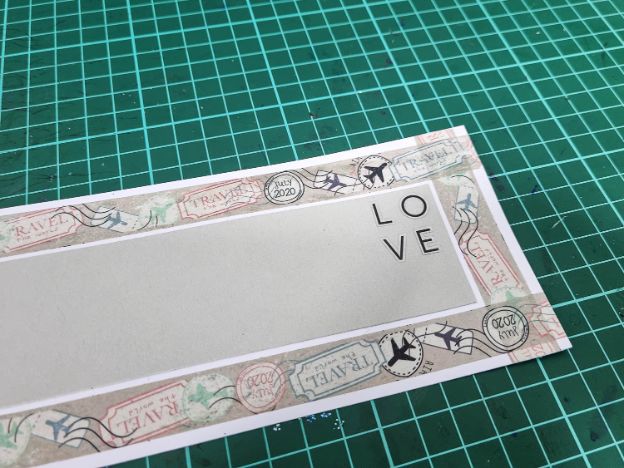
This greeting card border idea uses a fancy edge craft paper cutter. However this time, I have used it on the inside edge of the border on plain colored cardstock. You can see from the example above that I have cut two thick strips of white cardstock for a horizontal border. The bottom strip is cut larger than the top strip as I personally just like the way this looks. Also, it gives me more room for my letter stickers or any sentiment I may choose to write.
#8 - Use decorative edge scissors for a quick greeting card border
Create quick and simple border designs by using decorative paper cutters!
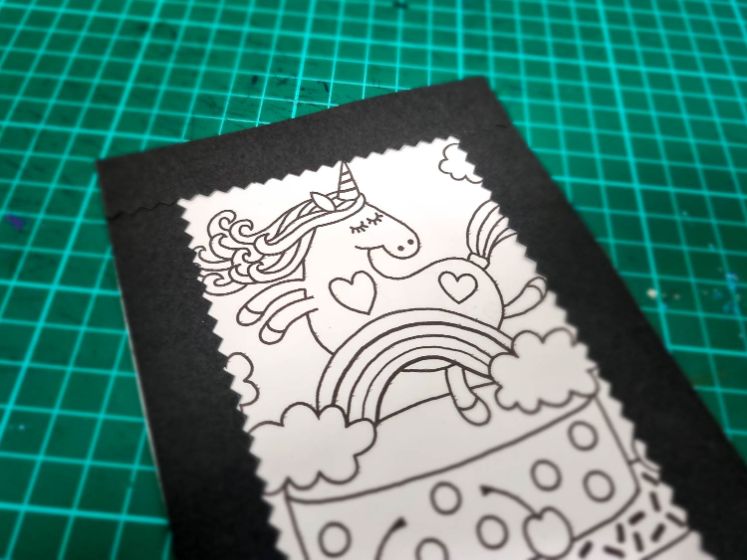
My daughter was recently invited to her friend's 8th birthday party so I wanted to come up with something that she could color herself to give her friend. Using fancy edge scissors, I cut four strips of dark cardstock for the border making sure that one edge of each strip was straight and one was zig-zag.
After gluing a coloring page down onto the card base, the black border strips were glued on top with the fancy cut edge on the inside of the border. Now all she needs to do is color it and give it to her friend!
So what do you think? Are you ready to start creating your own lovely borders? I really hope you have found some inspiration from these ideas and as always, I would love to see your version of any of these ideas.
Happy card-making!
Seen Our Sister Site?
Check out ScrapbookingCoach.com by clicking here.
© Copyright 2025 - CardMakingCollective.com